
性能测试全栈笔记:44.项目环境搭建-Tomcat篇
性能测试全栈笔记
四十四、项目环境搭建-Tomcat篇(Tomcat+Mysql搭建并配置pinter、OA项目),其中,mysql版本为5.7
提示:本章内容后续会贴安装、配置细节
用到的软件:
用到的命令(尽量先装数据库再装其他的):
[root@jmeter1 bin]# history意思是忽略依赖并强制安装
1 ll
2 cd soft/
3 ll
4 java -version
5 ll
6 tar -xzvf jdk-8u231-linux-x64.tar.gz
7 ll
8 vi /etc/profile
9 source /etc/profile
10 java -version
11 vi /etc/security/limits.conf(这一步是优化linux,可忽略))
12 exit
13 cd soft/
14 ll
15 ulimit -u
16 vi /etc/security/limits.conf
17 vi /etc/sysctl.conf2
18 vi /etc/sysctl.conf
19 /sbin/sysctl -p
20 ll
21 rpm -ivh mysql-community-5.7-Linux-rpm.zip
22 unzip mysql-community-5.7-Linux-rpm.zip
23 yum -y install unzip
24 unzip mysql-community-5.7-Linux-rpm.zip
25 ll
26 rpm -ivh mysql-community-common-5.7.28-1.el7.x86_64.rpm
27 ll
28 rpm -ivh mysql-community-common-5.7.28-1.el7.x86_64.rpm --force --nodeps(--force --nodeps)
29 rpm -ivh mysql-community-libs-5.7.28-1.el7.x86_64.rpm --force --nodeps
30 rpm -ivh mysql-community-client-5.7.28-1.el7.x86_64.rpm --force --nodeps
31 rpm -ivh mysql-community-server-5.7.28-1.el7.x86_64.rpm --force --nodeps
32 systemctl start mysqld.service
33 systemctl status mysqld.service
34 ps -ef |grep mysql
35 netstat -anptu
36 yum -y install netstat
37 netstat
38 yum -y install net-tools
39 netstat -anptu
40 netstat -anptu|grep 3306
41 grep 'temporary password' /var/log/mysqld.log(获取mysql默认的root密码)
42 mysql -uroot -p
43 systemctl status firewalld.service
44 systemctl disabled firewalld.service
45 systemctl disable firewalld.service
46 systemctl status firewalld.service
47 systemctl stop firewalld.service
48 systemctl status firewalld.service
49 ll
50 mkdir pinter
51 ll
52 mv pinter.war pinter
53 ll
54 cd pinter
55 ll
56 unzip pinter.war
57 ll
58 cd ../
59 ll
60 mv apache-tomcat-8.5.38.zip /opt/
61 cd /opt/
62 ll
63 unzip apache-tomcat-8.5.38.zip
64 ll
65 mv apache-tomcat-8.5.38 tomcat
66 ll
67 cd tomcat/
68 ll
69 cd conf/
70 ll
71 vi server.xml
72 cd ..
73 cd bin/
74 ./startup.sh
75 chmod +x *.sh
76 ./startup.sh
77 cd ..
78 ll
79 cp -r tomcat/ tomcat-oa
80 ll
81 cd ~
82 cd soft/
83 ll
84 unzip TestOA.zip
85 ll
86 mkdir other
87 ll
88 mv *.zip other/
89 ll
90 mv *.rpm other/
91 ll
92 mv pinter.jar other/
93 mv jdk-8u231-linux-x64.tar.gz other/
94 ll
95 mysql -uroot -p
96 vi TestOA/WEB-INF/classes/jdbc.properties
97 ip addr
98 cd soft/
99 ll
100 vi TestOA/WEB-INF/classes/jdbc.properties
101 cd /opt/tomcat-oa/
102 ll
103 cd conf/
104 ll
105 vi server.xml
106 cd ..
107 cd bin/
108 ./startup.sh
安装好以后的界面:
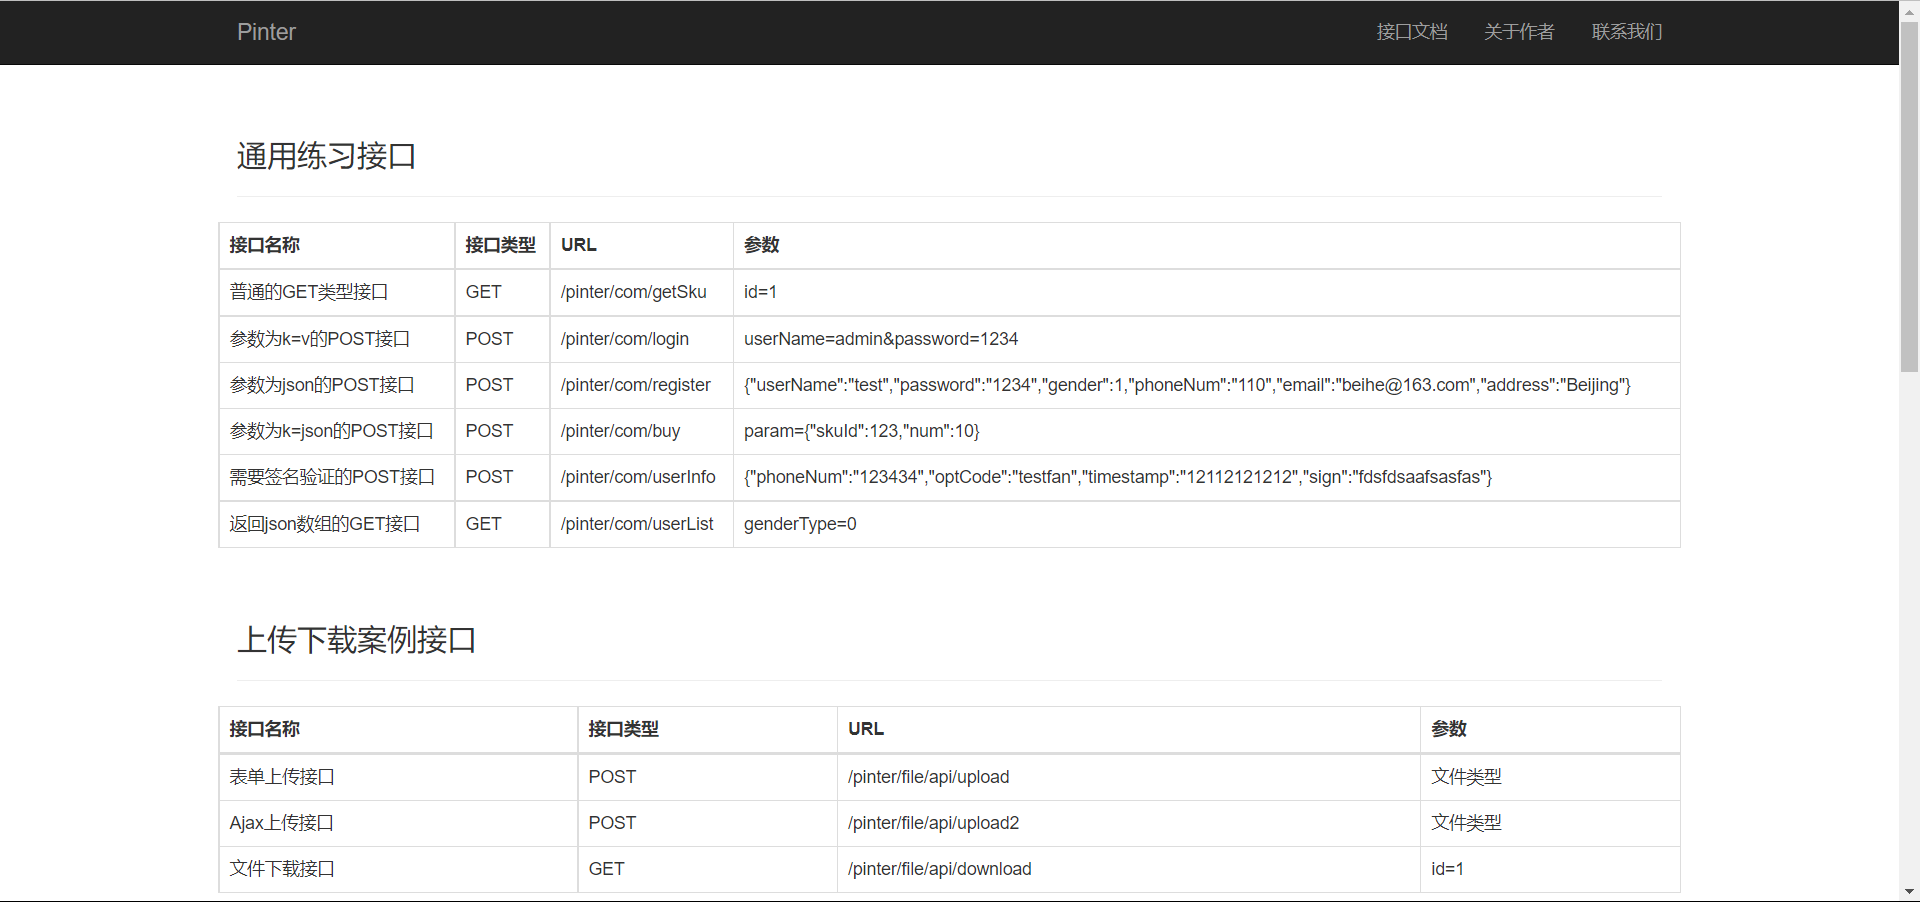
1.pinter项目:pinter
2.OA项目:Itcast OA – Itcast OA
账号:admin,密码:1234

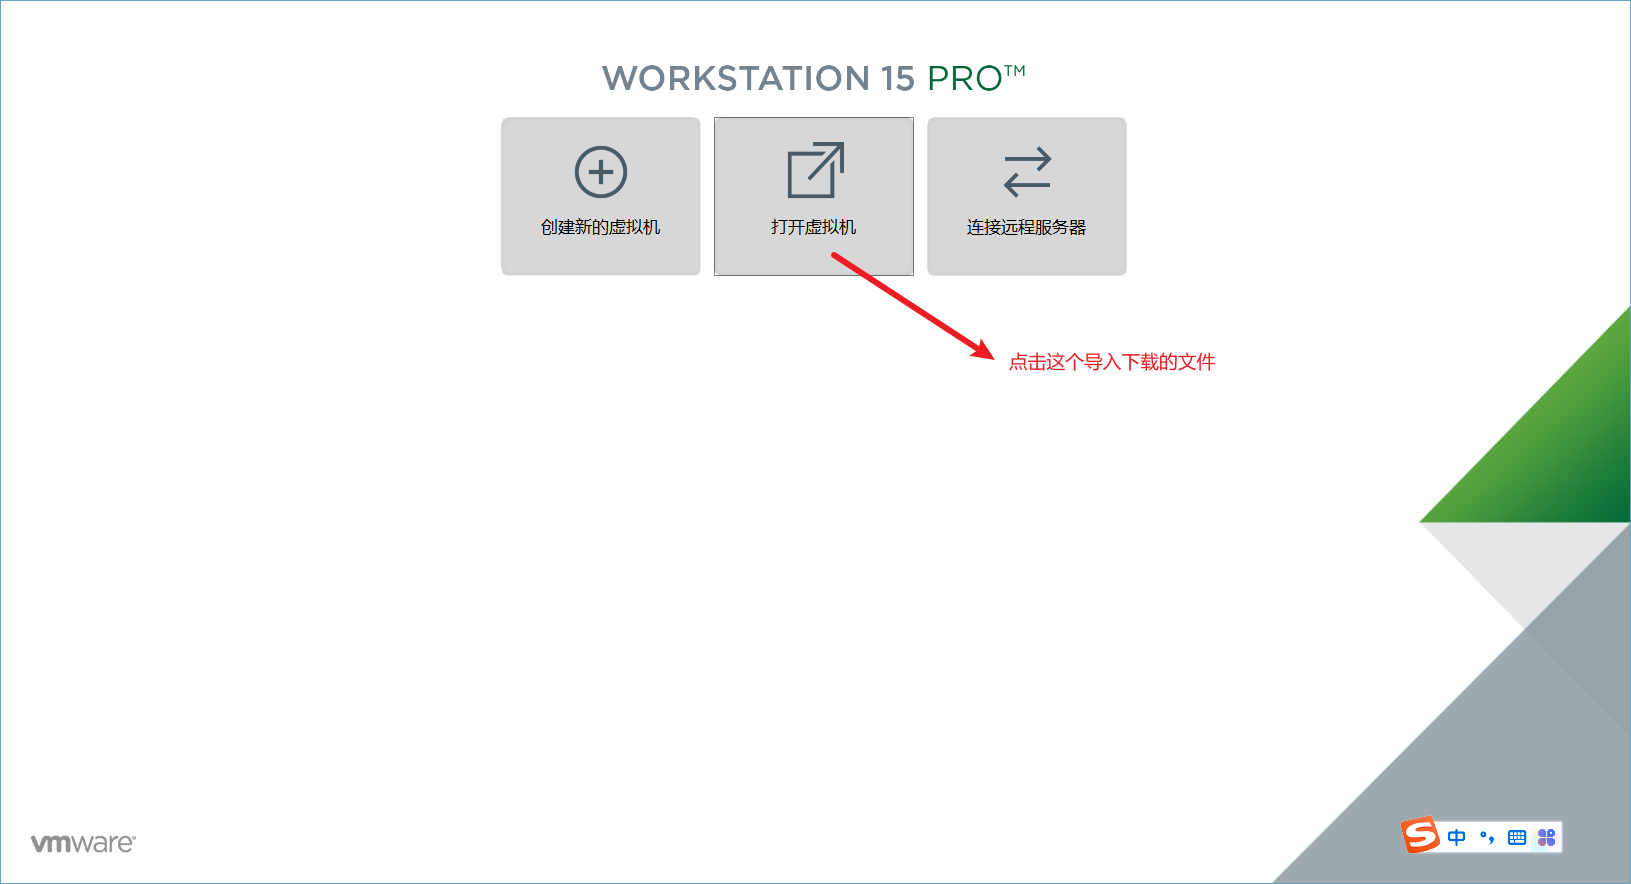
下面为大家提供搭建好的环境,导入虚拟机内即可使用,虚拟机用的是VMware(基本步骤,不做赘述):